


So, we have been down this road multiple times. The, “we need to re-do these steps but don’t really want to start pulling out staples” road. Having remodeled a few houses, I always adore a beautiful stair makeover! It makes a HUGE difference!
So I thought, i will write a blog about a simple stair makeover so everyone else can just do it themselves before I come into their home. Because, let’s be honest, it’s not the easiest job.

Step #1: Make sure you have an excellent playlist
as in an AWESOME, butt shakin, foot stompin, keep you awake and alive while working, playlist
I would suggest a few, but I haven’t really screened every song and I’d hate to make suggestions that might offend some people. But, you know what I mean!
In all seriousness, you have to be in a good mood in order to do this! And I truly believe music can play a huge part in that!

Step #2: Make sure you have some awesome staple removers!
During this process you may very well think that you are dying while removing 8,000 staples per step. But I promise, it will end, and the staples will slowly go away.

BEFORE
Lookin Rough!
When starting your stairs (typically the ones I have re-done have carpet), you will need to remove that carpet! Just start at the top and pull a corner away from the wood.
Then get to tearing. Sometimes it’s a full piece of carpet all the way to the bottom.
A lot of times, it’s actually done in a section - which is kind of a pain when tearing it out. But it will be okay.
Always watch out for those staples and nails! They are a pain in the butt when they stab your fingers while tearing it up!

You want to take it ALL off- the padding underneath, everything. Then, go ahead and sweep up all the nasty dirt and dust. Get a good Shop-vac and vacuum all that crap up!
Then get to pulling! If you are painting the steps or staining them – every single one of those staple has to come out! Surprise!
Click here for an awesome staple remover. Click here for another awesome staple remover, and this one.
(you will need both of these- without a doubt. Trust. ME.)
Sub step to step 1

Photo Not by Elm Home Design
After you have removed everything you want, go ahead and install any additional trim you might need to the staircase.
In order to make ours look finished and basically like the house was originally built this way, we wanted to add some pieces that are sometimes called a stringer.
This it just a finished piece that makes the steps look normal (and like you didn’t just rip carpet off of them). We cut back the stairs about ¾” on each side and ran (2) 1x10 painted primed boards to act as this decorative molding.
Then we also ran another one on the outside of the stairs, that’s visible to the living room area. This piece is normally called an open stringer. I didn’t add another other decorative molding piece to the top because it doesn’t really fit the style of this home. So I left it clean and simple.

Step #3: WOOD FILLER
All of those tiny holes from all of those staples, yup, they have to be filled!
You also need to fill any other large divets or just areas that can’t be sanded out.
When wood filling, less is more. If you clump it on, then that adds 20 minutes to your sanding time and makes your job 10x harder. So, just fill the hole and scrape off as much excess on top as you can. Then wait and let it dry! you can get certain brands that will change colors when they dry - this makes it easier if you are a newbie to this.

Step #4- SANDING!
Or, as I like to call it, death by dust
This is a super crucial point in your steps prep work. It can honestly make or break the way these steps turn out! So spend some time here.

Orbital sanders can be tricky but you want to just run with the grain.
You have to control the sander yourself; don’t allow it to run all over the stairs.
It can easily make some nasty marks in your wood if you allow it to do that. I typically start with a little bit of a rougher grit (maybe 180) if the stairs are in sad shape- but always finish with super fine grit like 220.
A rookie mistake you can make is sanding and looking at your steps, thinking, “Yup, that looks good!”
Nope. You have to run your hand over everything after you’ve sanded it. I constantly do this. I do one run with the sander and then put my hand on that area and rub it down, do another run with the sander, rub it down.
If you feel unevenness (especially where that wood filler is), you need to go back and keep sanding until it feels smooth to the touch.

Step #5: Caulk it all
After you have modified everything that you wanted to, you have wood filled all you need to, you have sanded so much you can’t see straight, go ahead and caulk in all the gaps with a paintable caulk (I chose white because we are painting the majority of these steps white).
Caulking can be a little tricky. Honestly, this is my least favorite part next to pulling up of all of those nasty staples.
I have several caulking tools that are helpful but also a little tricky to use.
Really there is no great solution here. Just be generous with it, yet meticulous when wiping it off. I wont get into a full on tutorial of how to properly caulk, just go watch a YouTube video on it. And if you don’t know what YouTube is, here you go.


But really, the main areas that are necessary to caulk is any edge or seam where your wood meets or kills into the wall, etc. I really like mine to look as seamless as possible. I caulk a seam on the back of the tread where it kills into the riser. I also caulk at the top of the riser and right underneath the nose of the tread. I also caulk along every side seam where the riser and step kill into the newly added trim pieces (sometimes called a stringer). Everything.

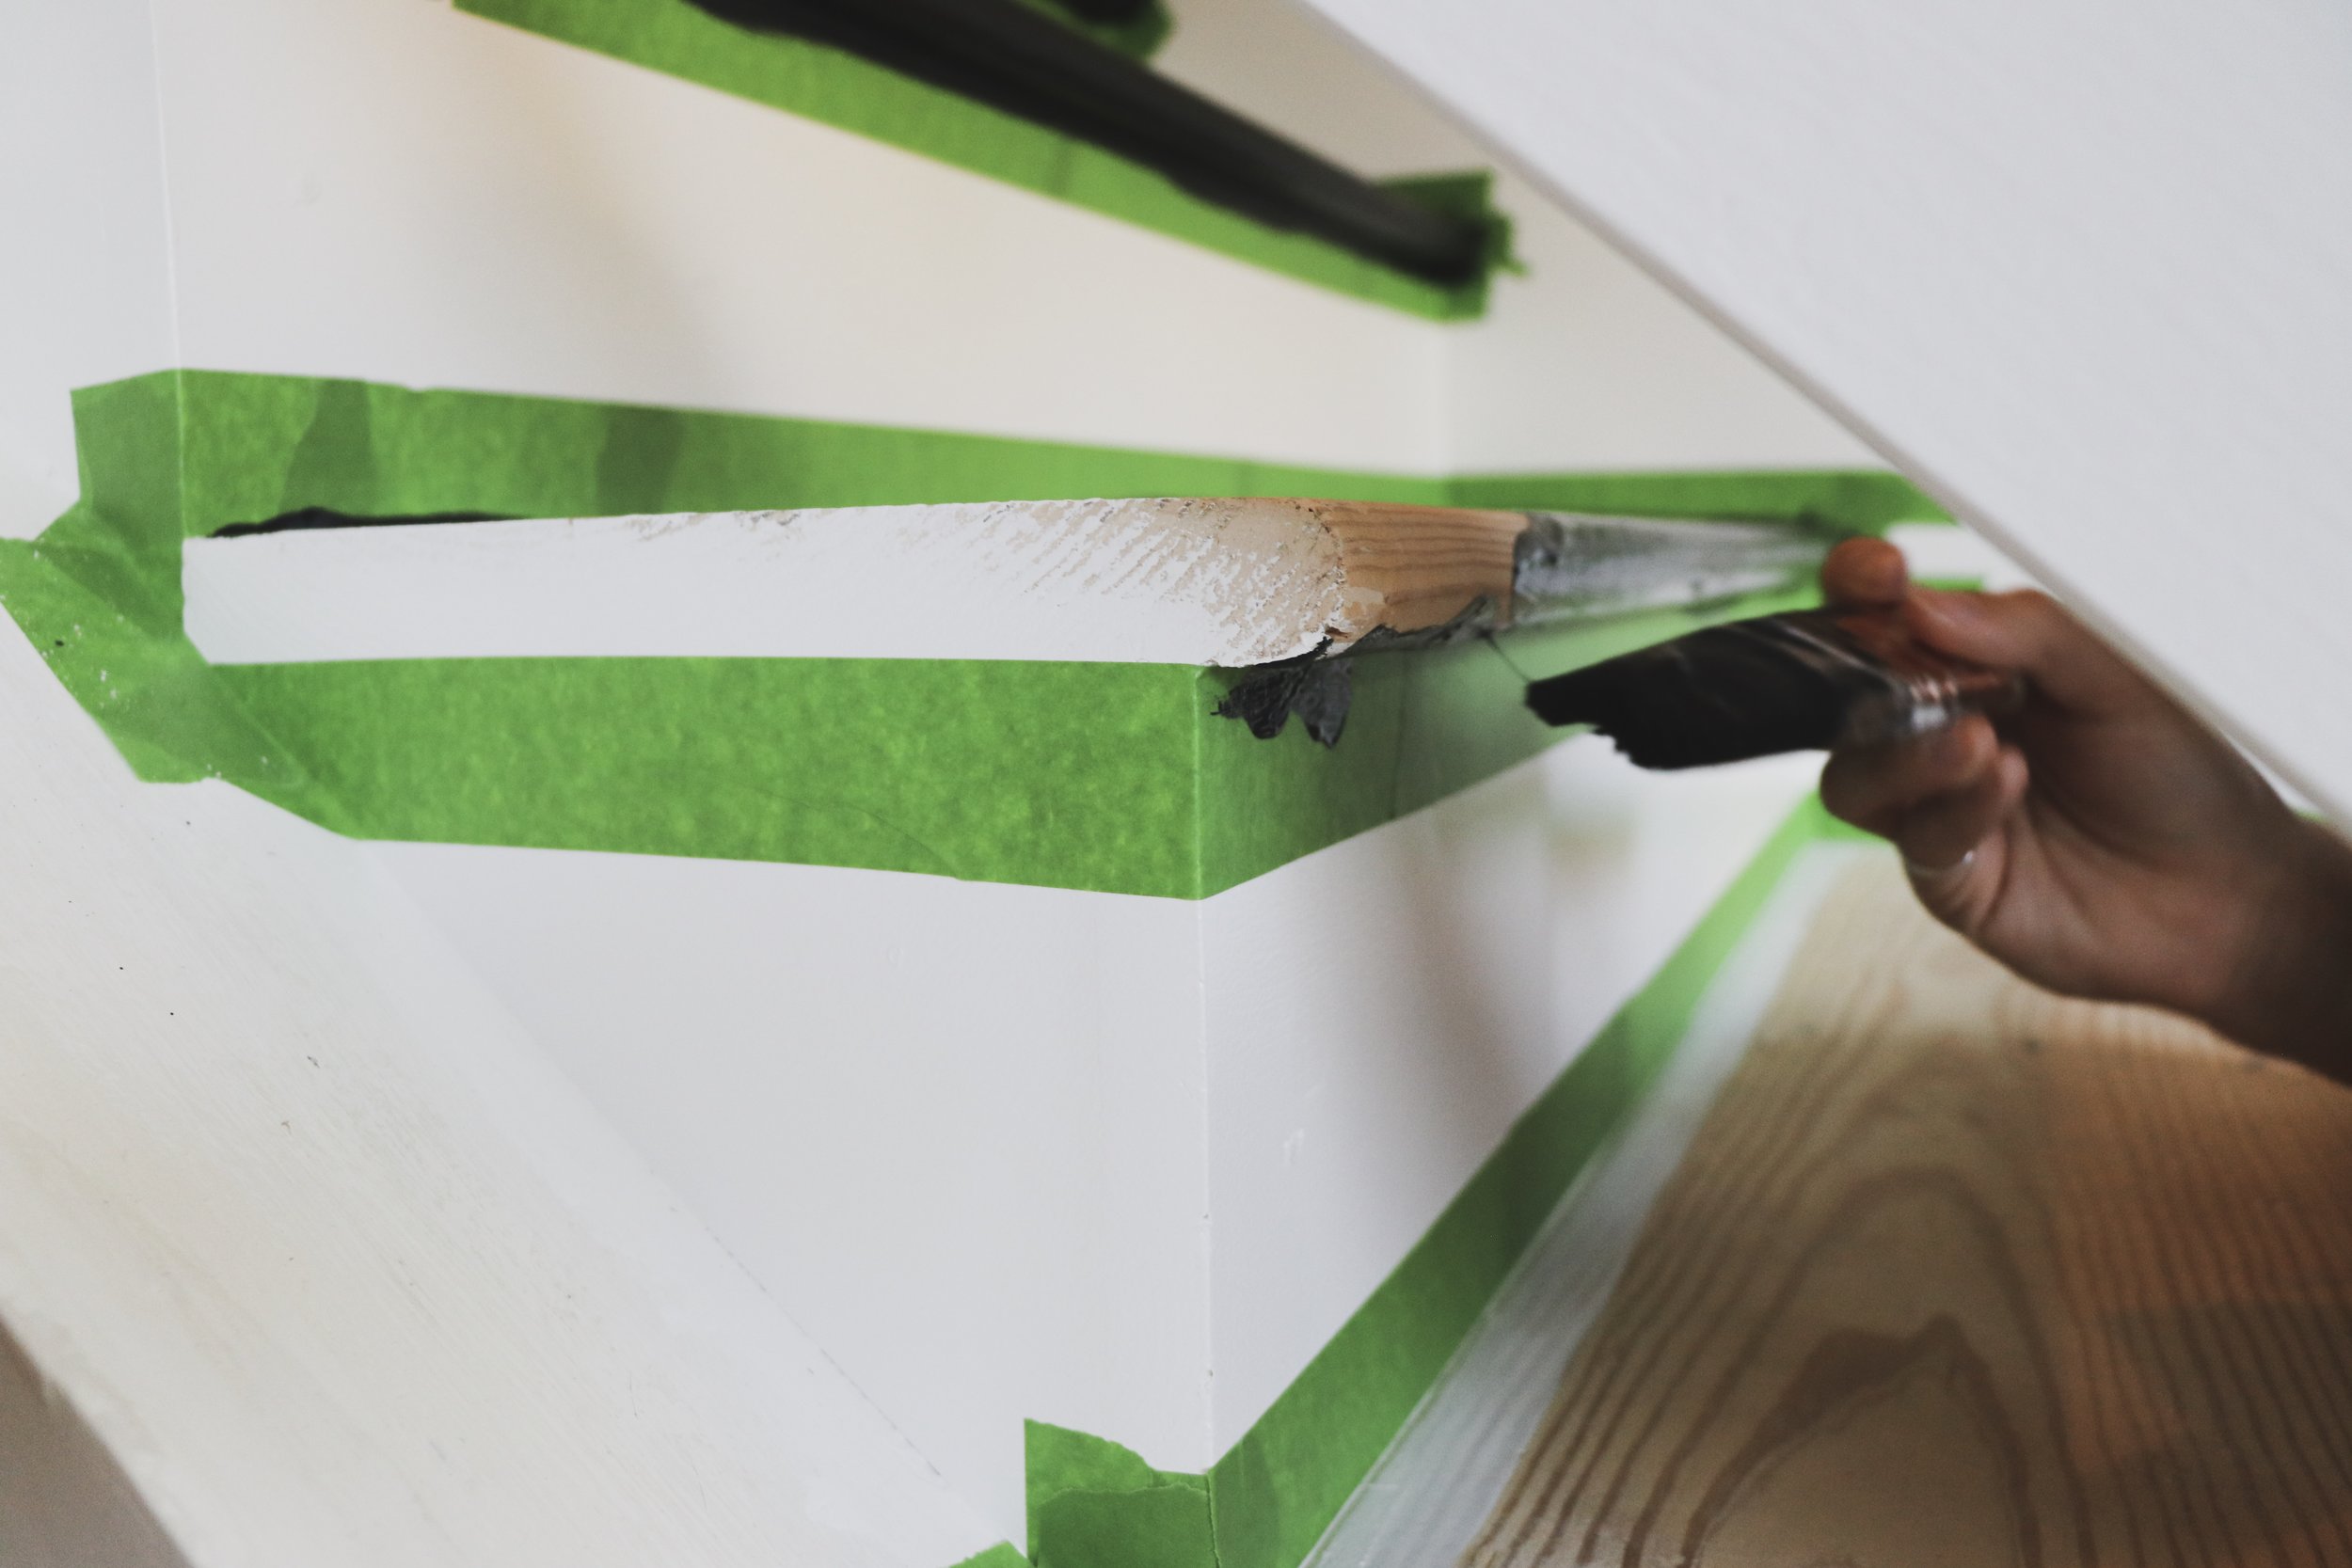
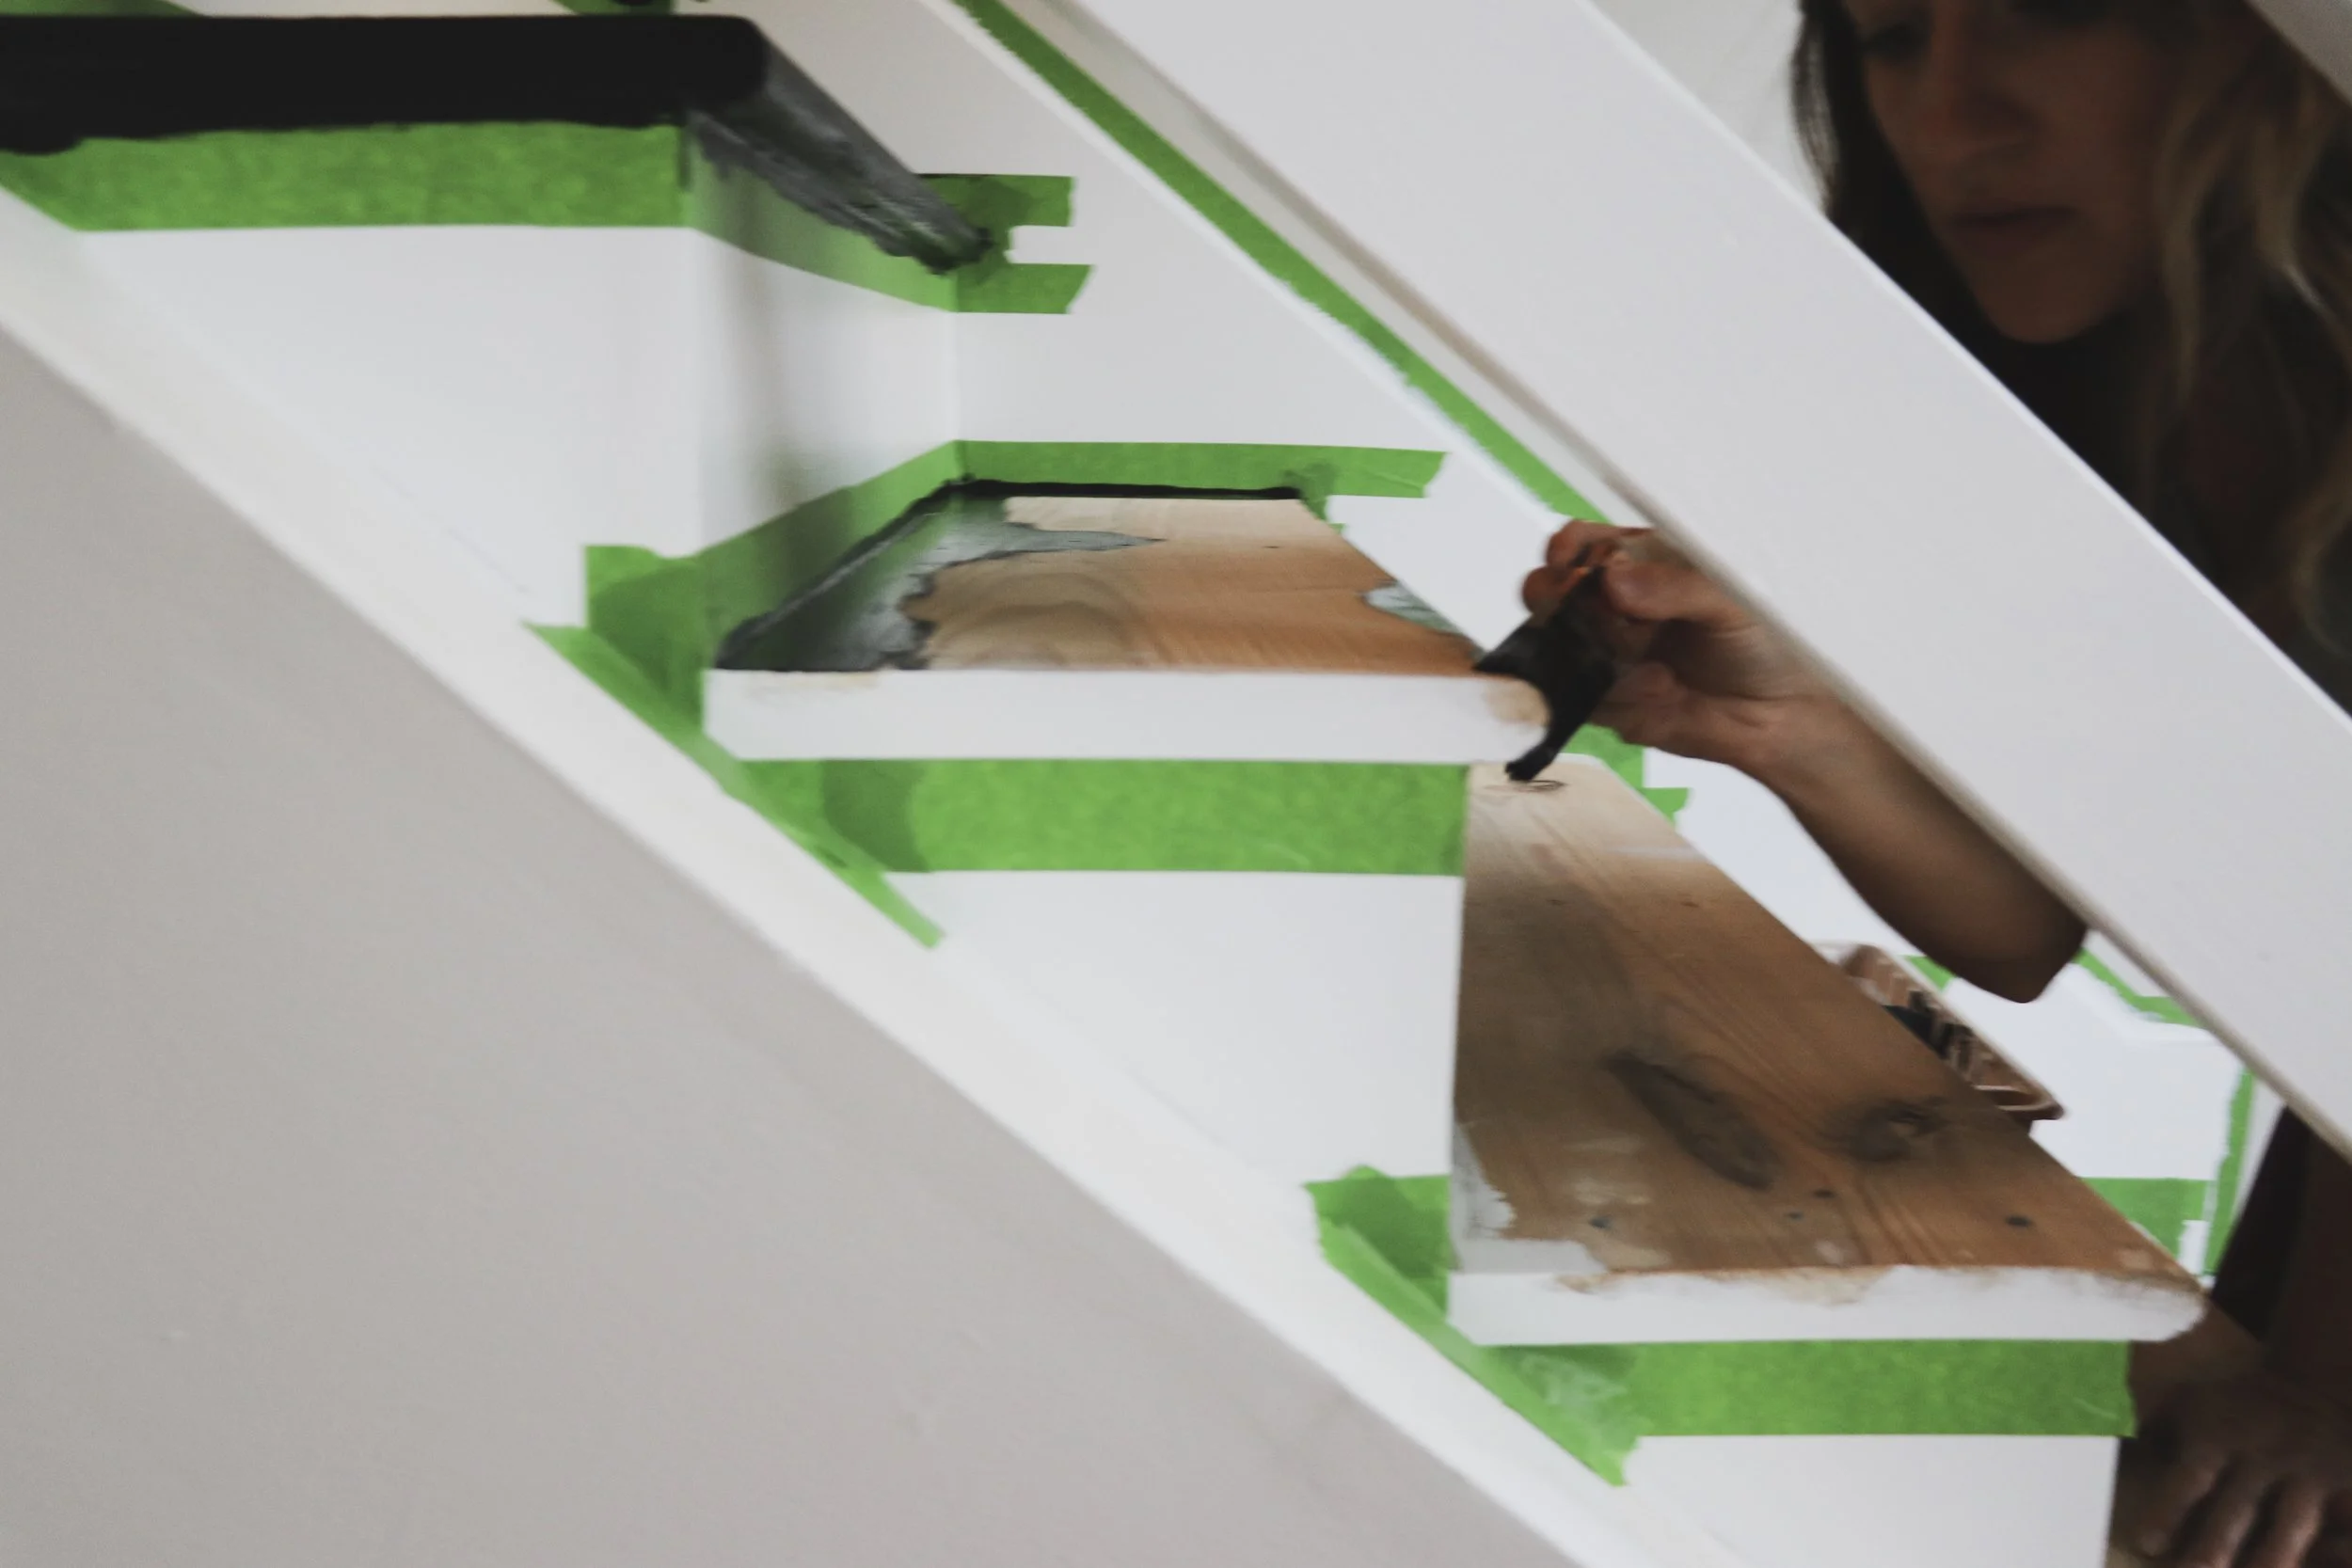
Step #6: FINAL STEP! Painting
or whatever you do to finish the steps. I prefer paint but there are SO MANY OPTIONS
With the painting steps also comes the taping steps - tape is another thing that can make or break these steps! I always go with Frog tape brand - just be very careful. There is no need to be heavy handed.


Also! before you do any painting make sure your steps are prepped and completed cleaned up! I go over them with a vacuum and then a damp rag (rinsing it over every other step)


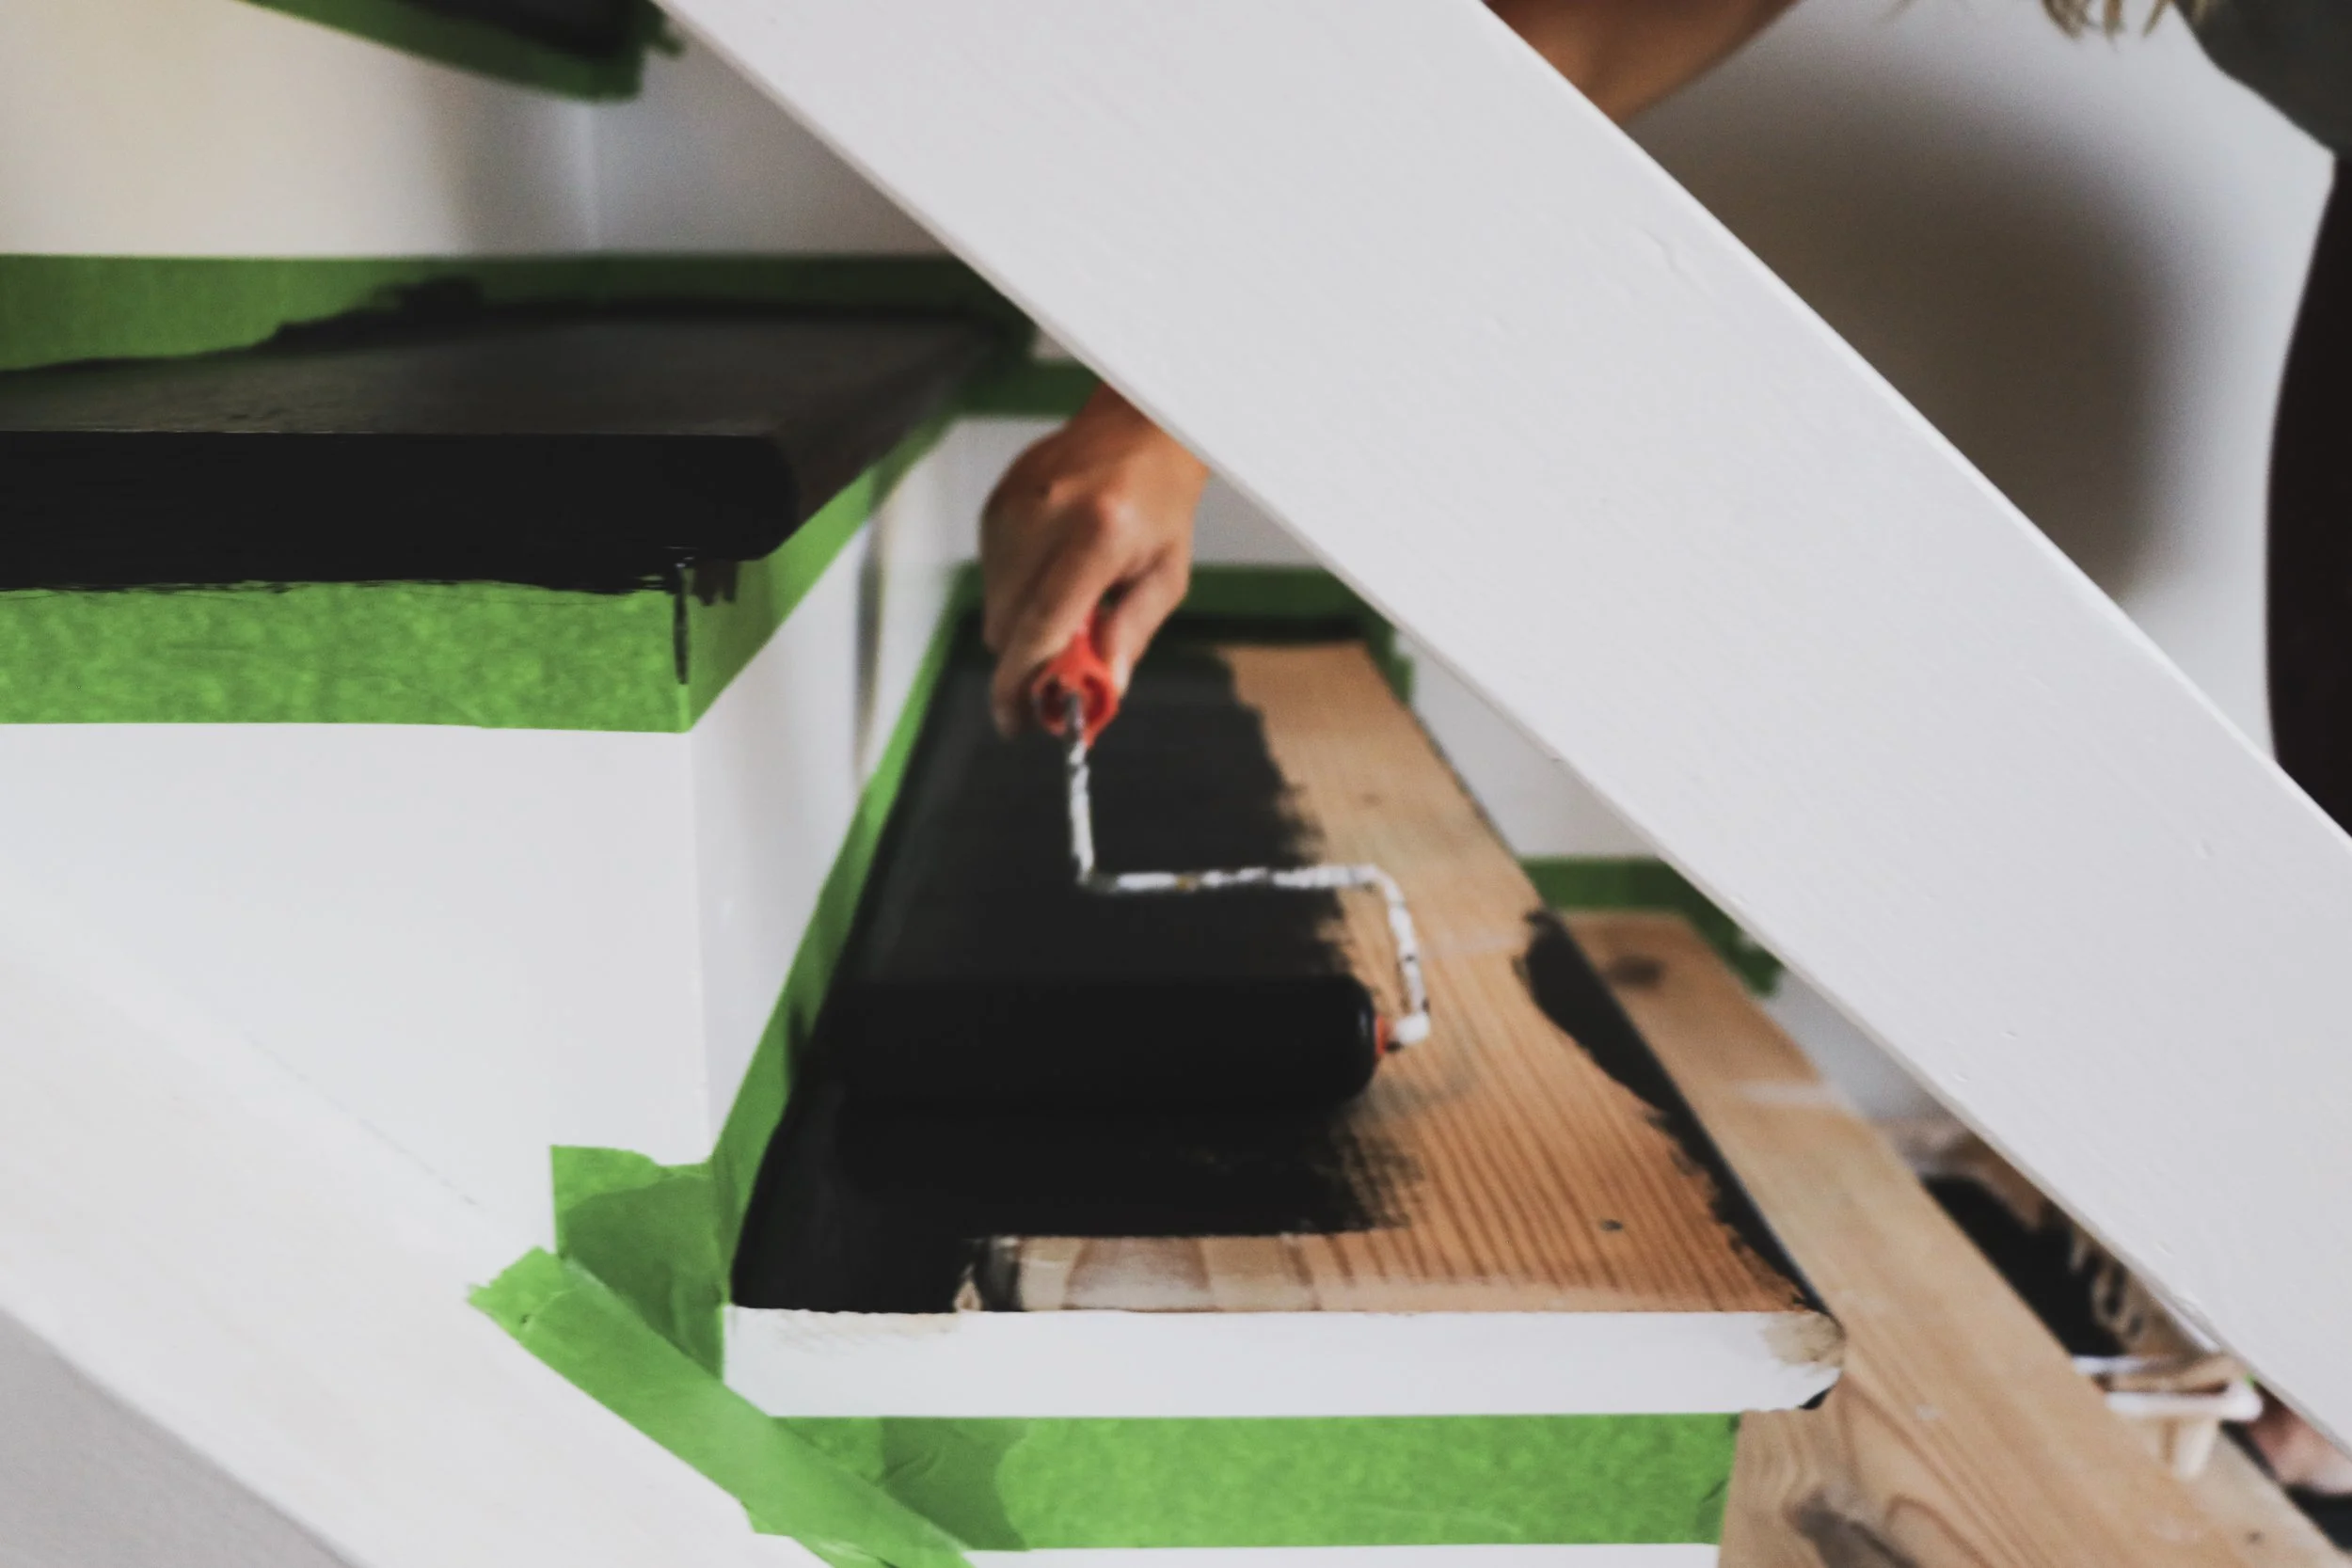
I am very meticulous when I paint. I do light paint strokes to cut in all the corners and then go over it with a foam roller- 6” long. This is a lifesaver. But again, be light handed, don’t press super hard and don’t glob the paint. Always go in a solid straight motion. Don’t stop in the middle of a tread. You want to do one continuous roll from one side to the other.


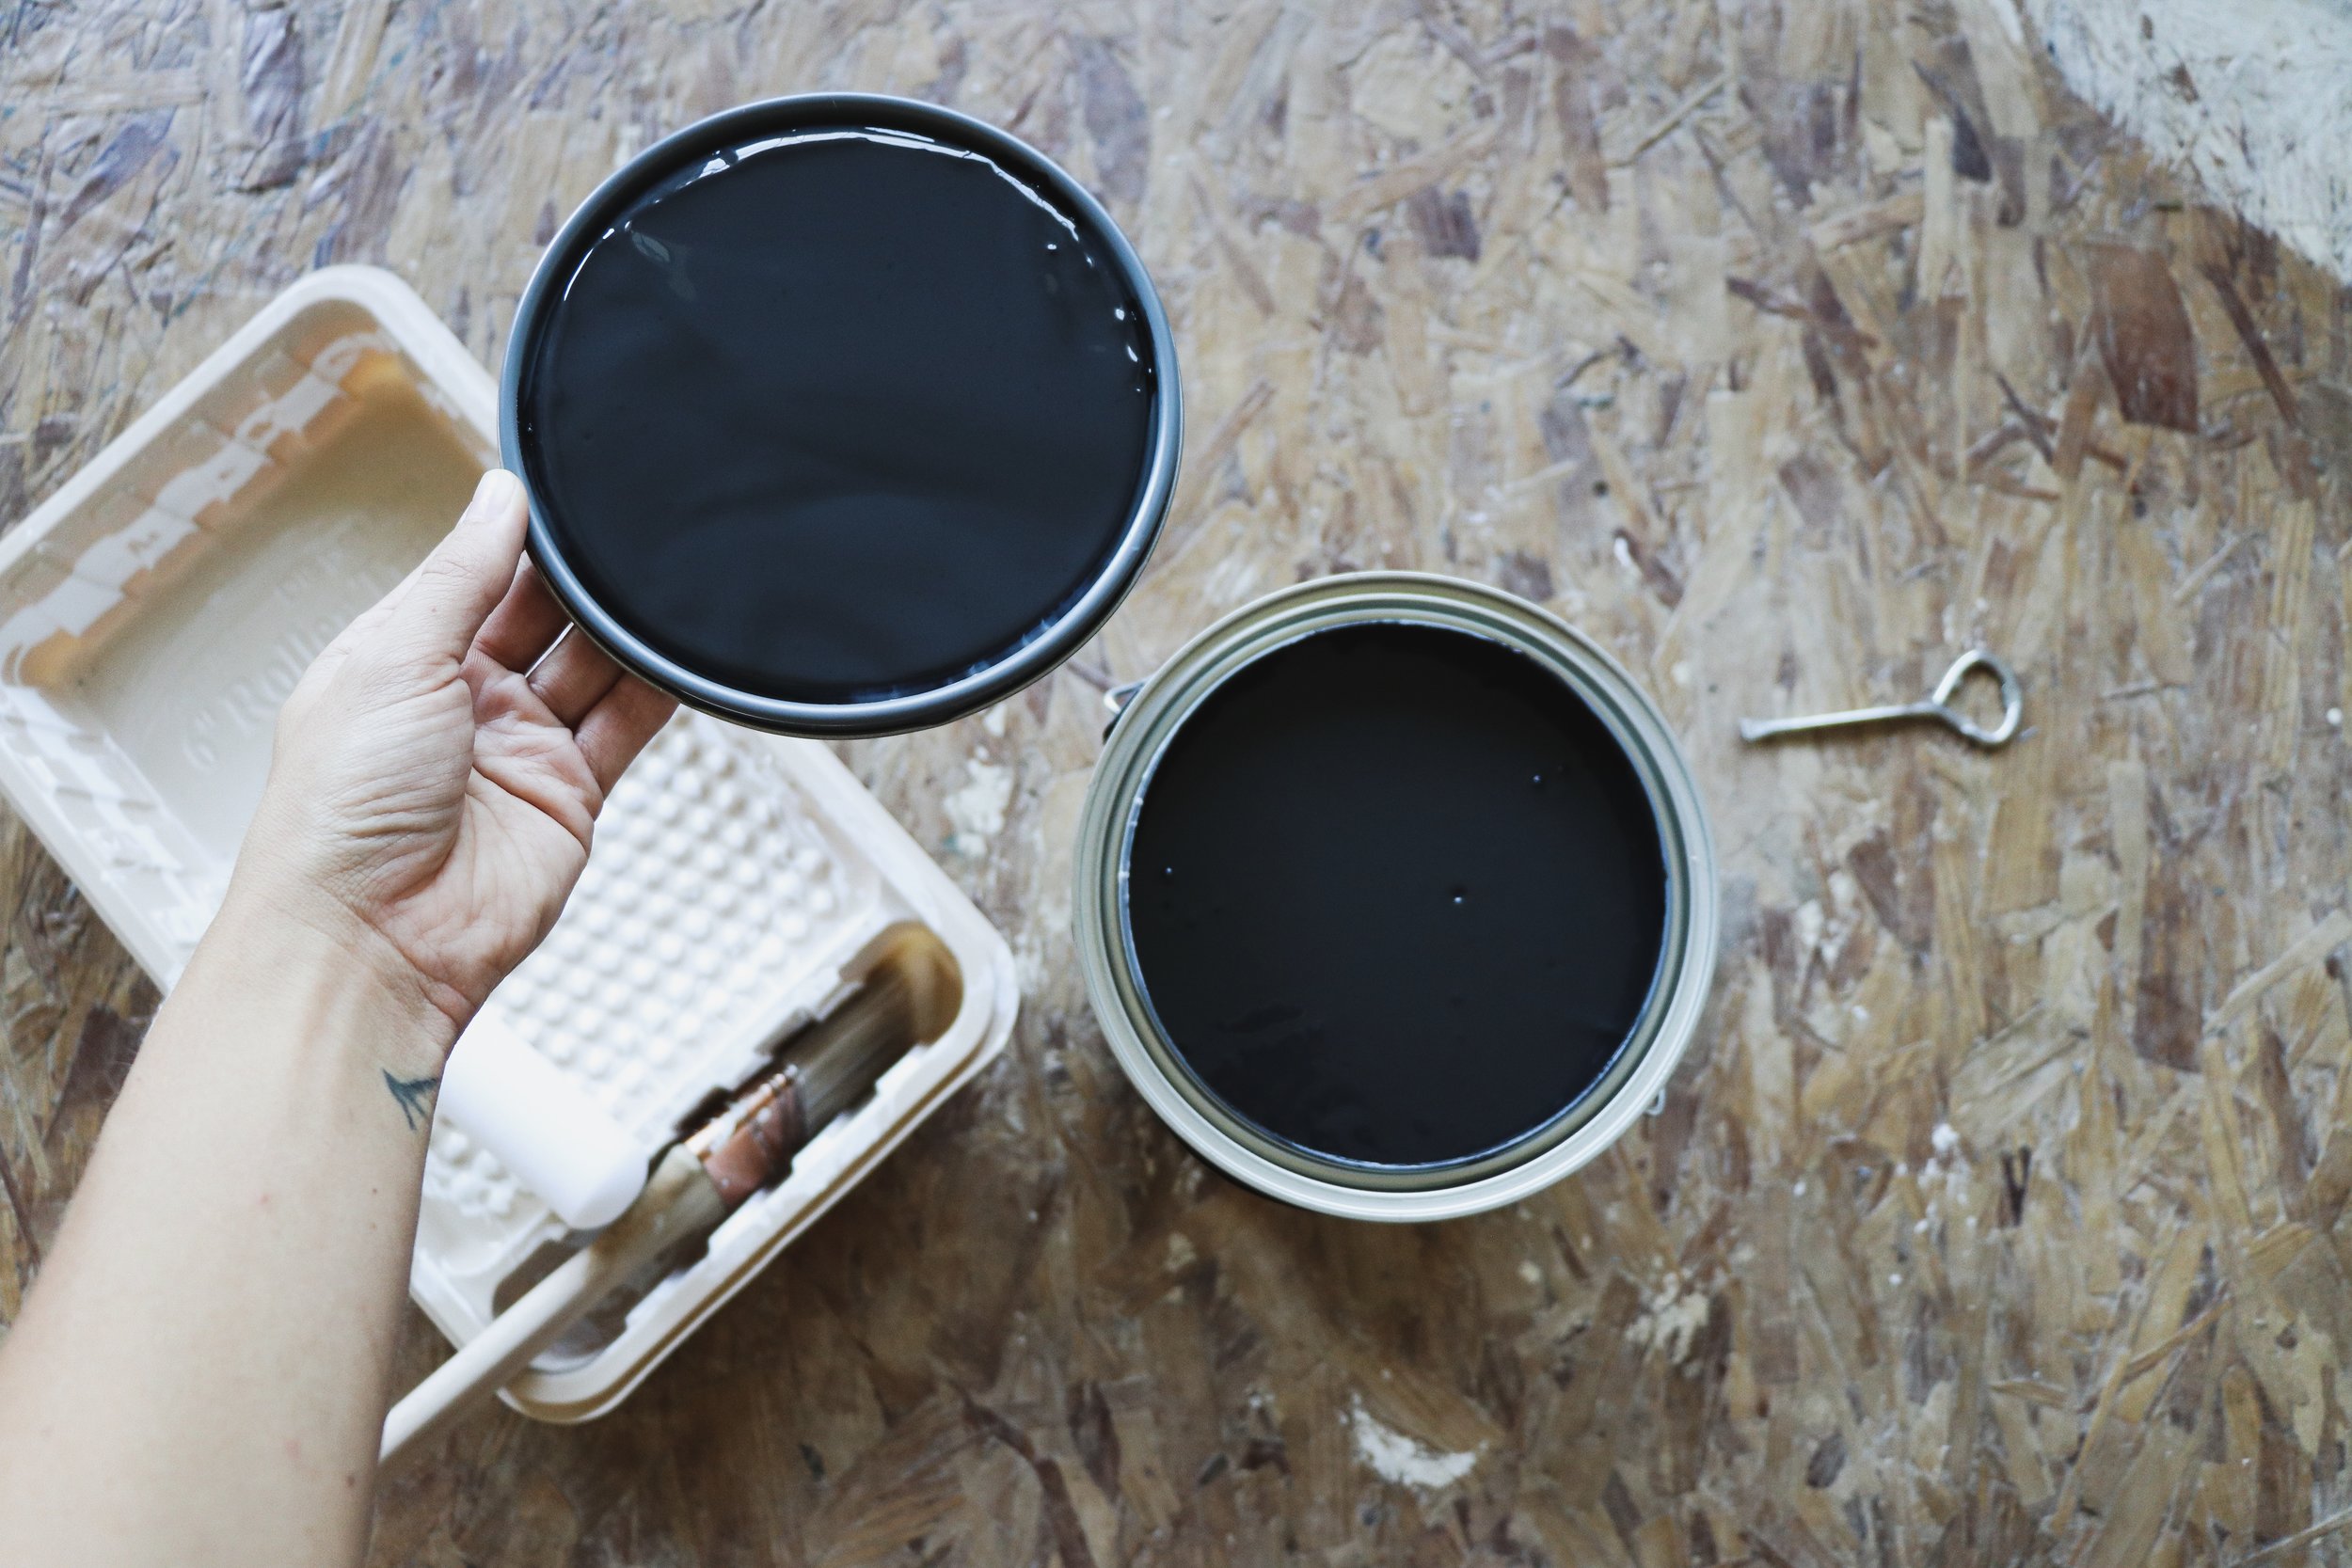
I typically choose a deck paint. Something that’s durable and will last a long time with plenty of traction up and down those steps. DON’T go with an oil. Always choose latex, if you can because oil is just a mess.
Sherwin Williams, Benjamin Moore, and even Lowes have some excellent options here!
I do about 2 coats on everything! If you are painting different colors on your steps (like I did) you will have to tape and re-tape multiple times when painting. I usually do the trim and riser first (because they are the same color this time) and then the treads last.
Once I am done with the painting, I always do a final protective measure by “polyurethaning” (made that word up) the treads. I do two very light coats of Poly (using a semi-gloss finish- or whatever finish you desire for your space). Supposedly, according to all paint experts at the paint stores, this isn’t really necessary. I just never want to touch up the paint again. Just kidding, I probably still will have to touch it up one day. It just makes my heart happy to know there is a final finished topcoat.


Anyways! That’s it! Hope your stairs look awesome!
Just a few things you might need:
1. A wireless Bluetooth speaker
2. Protective Gloves (and protective eye wear if you’re a wuss –don’t sue me if your eye gets scraped because you didn’t follow instructions)
3. Staple remover
4. Wood filler
5. Orbital sander
6. Caulk and caulk gun
7. Frog tape (painters tape)
8. Paint
9. Brushes and 6” foam roller
10. Polyurethane
